- Remove the `stop script if command error` step from GitHub workflows
- Remove the `script_stop` option from the README and its translations
- Remove the `script_stop` input from `action.yml`

Signed-off-by: appleboy <appleboy.tw@gmail.com>
14 KiB
🚀 SSH for GitHub Actions
GitHub Action for executing remote SSH commands.
This project is built using Golang and drone-ssh. 🚀
Input variables
See action.yml for more detailed information.
| Input Parameter | Description | Default Value |
|---|---|---|
| host | SSH host address | |
| port | SSH port number | 22 |
| passphrase | SSH key passphrase | |
| username | SSH username | |
| password | SSH password | |
| protocol | SSH protocol version (tcp, tcp4, tcp6) | tcp |
| sync | Enable synchronous execution if multiple hosts | false |
| use_insecure_cipher | Include more ciphers with use_insecure_cipher | false |
| cipher | Allowed cipher algorithms. If unspecified, a sensible default | |
| timeout | Timeout duration for SSH to host | 30s |
| command_timeout | Timeout duration for SSH command | 10m |
| key | Content of SSH private key. e.g., raw content of ~/.ssh/id_rsa | |
| key_path | Path of SSH private key | |
| fingerprint | SHA256 fingerprint of the host public key | |
| proxy_host | SSH proxy host | |
| proxy_port | SSH proxy port | 22 |
| proxy_protocol | SSH proxy protocol version (tcp, tcp4, tcp6) | tcp |
| proxy_username | SSH proxy username | |
| proxy_password | SSH proxy password | |
| proxy_passphrase | SSH proxy key passphrase | |
| proxy_timeout | Timeout for SSH to proxy host | 30s |
| proxy_key | Content of SSH proxy private key | |
| proxy_key_path | Path of SSH proxy private key | |
| proxy_fingerprint | SHA256 fingerprint of the proxy host public key | |
| proxy_cipher | Allowed cipher algorithms for the proxy | |
| proxy_use_insecure_cipher | Include more ciphers with use_insecure_cipher for the proxy | false |
| script | Execute commands | |
| script_file | Execute commands from a file | |
| envs | Pass environment variables to shell script | |
| envs_format | Flexible configuration of environment value transfer | |
| debug | Enable debug mode | false |
| allenvs | Pass the environment variables with prefix value of GITHUB_ and INPUT_ to the script |
false |
| request_pty | Request a pseudo-terminal from the server | false |
Usage
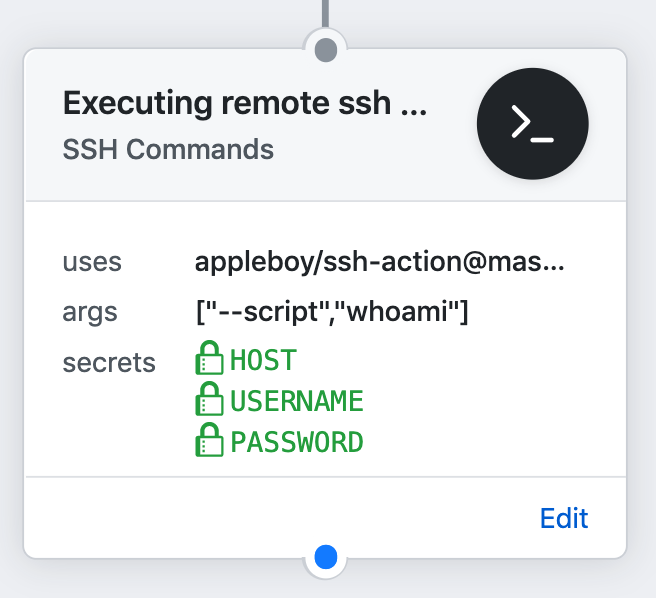
Executing remote SSH commands.
name: remote ssh command
on: [push]
jobs:
  build:
    name: Build
    runs-on: ubuntu-latest
    steps:
      - name: executing remote ssh commands using password
        uses: appleboy/ssh-action@v1.2.0
        with:
          host: ${{ secrets.HOST }}
          username: linuxserver.io
          password: ${{ secrets.PASSWORD }}
          port: ${{ secrets.PORT }}
          script: whoami
output:
======CMD======
whoami
======END======
linuxserver.io
===============================================
✅ Successfully executed commands to all hosts.
===============================================
Setting up a SSH Key
Make sure to follow the below steps while creating SSH Keys and using them. The best practice is create the SSH Keys on local machine not remote machine. Login with username specified in Github Secrets. Generate a RSA Key-Pair:
Generate rsa key
ssh-keygen -t rsa -b 4096 -C "your_email@example.com"
Generate ed25519 key
ssh-keygen -t ed25519 -a 200 -C "your_email@example.com"
Add newly generated key into Authorized keys. Read more about authorized keys here.
Add rsa key into Authorized keys
cat .ssh/id_rsa.pub | ssh b@B 'cat >> .ssh/authorized_keys'
Add ed25519 key into Authorized keys
cat .ssh/id_ed25519.pub | ssh b@B 'cat >> .ssh/authorized_keys'
Copy Private Key content and paste in Github Secrets.
Copy rsa Private key
Before copying the private key, install clip command as shown below:
# Ubuntu
sudo apt-get install xclip
copy the private key:
# macOS
pbcopy < ~/.ssh/id_rsa
# Ubuntu
xclip < ~/.ssh/id_rsa
Copy ed25519 Private key
# macOS
pbcopy < ~/.ssh/id_ed25519
# Ubuntu
xclip < ~/.ssh/id_ed25519
See the detail information about SSH login without password.
A note from one of our readers: Depending on your version of SSH you might also have to do the following changes:
- Put the public key in
.ssh/authorized_keys2 - Change the permissions of
.sshto 700 - Change the permissions of
.ssh/authorized_keys2to 640
If you are using OpenSSH
If you are currently using OpenSSH and are getting the following error:
ssh: handshake failed: ssh: unable to authenticate, attempted methods [none publickey]
Make sure that your key algorithm of choice is supported. On Ubuntu 20.04 or later you must explicitly allow the use of the ssh-rsa algorithm. Add the following line to your OpenSSH daemon file (which is either /etc/ssh/sshd_config or a drop-in file under /etc/ssh/sshd_config.d/):
CASignatureAlgorithms +ssh-rsa
Alternatively, ed25519 keys are accepted by default in OpenSSH. You could use this instead of rsa if needed:
ssh-keygen -t ed25519 -a 200 -C "your_email@example.com"
Example
Executing remote ssh commands using password
- name: executing remote ssh commands using password
  uses: appleboy/ssh-action@v1.2.0
  with:
    host: ${{ secrets.HOST }}
    username: ${{ secrets.USERNAME }}
    password: ${{ secrets.PASSWORD }}
    port: ${{ secrets.PORT }}
    script: whoami
Using private key
- name: executing remote ssh commands using ssh key
  uses: appleboy/ssh-action@v1.2.0
  with:
    host: ${{ secrets.HOST }}
    username: ${{ secrets.USERNAME }}
    key: ${{ secrets.KEY }}
    port: ${{ secrets.PORT }}
    script: whoami
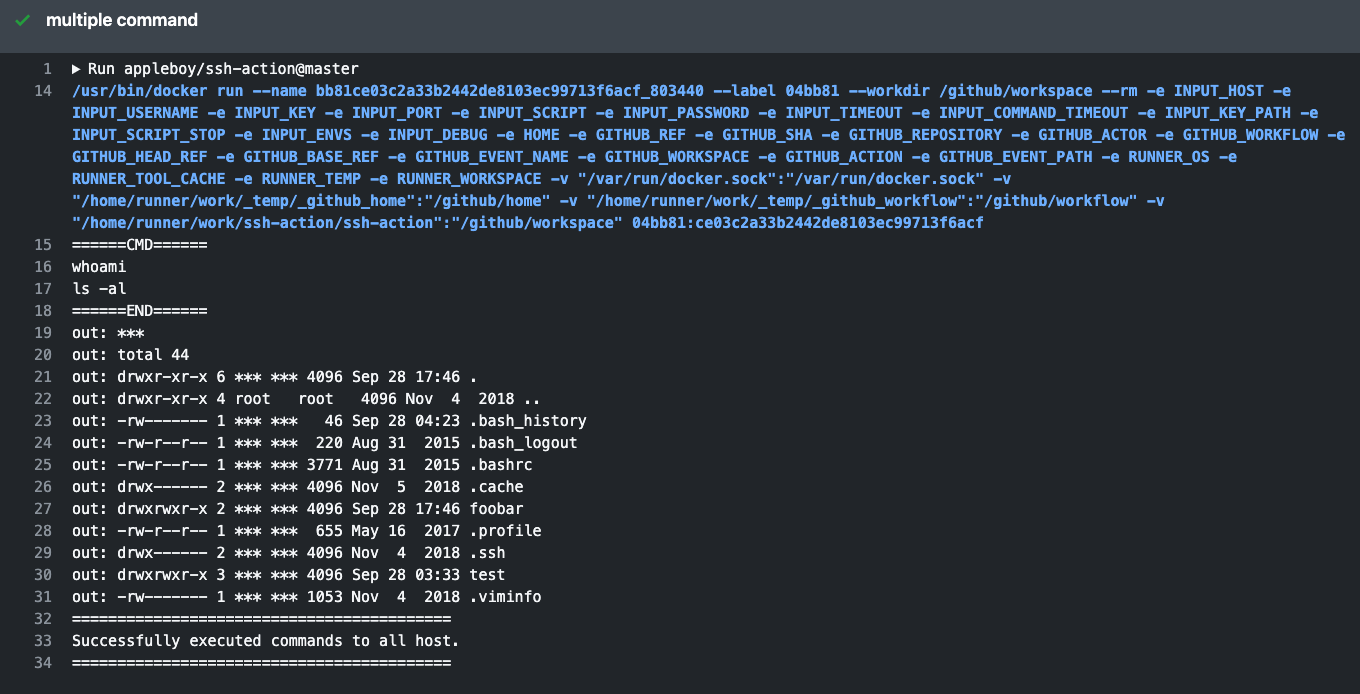
Multiple Commands
- name: multiple command
  uses: appleboy/ssh-action@v1.2.0
  with:
    host: ${{ secrets.HOST }}
    username: ${{ secrets.USERNAME }}
    key: ${{ secrets.KEY }}
    port: ${{ secrets.PORT }}
    script: |
      whoami
      ls -al
Commands from a file
- name: file commands
  uses: appleboy/ssh-action@v1.2.0
  with:
    host: ${{ secrets.HOST }}
    username: ${{ secrets.USERNAME }}
    key: ${{ secrets.KEY }}
    port: ${{ secrets.PORT }}
    script_path: scripts/script.sh
Multiple Hosts
  - name: multiple host
    uses: appleboy/ssh-action@v1.2.0
    with:
-     host: "foo.com"
+     host: "foo.com,bar.com"
      username: ${{ secrets.USERNAME }}
      key: ${{ secrets.KEY }}
      port: ${{ secrets.PORT }}
      script: |
        whoami
        ls -al
The default value of port is 22.
Multiple hosts with different port
  - name: multiple host
    uses: appleboy/ssh-action@v1.2.0
    with:
-     host: "foo.com"
+     host: "foo.com:1234,bar.com:5678"
      username: ${{ secrets.USERNAME }}
      key: ${{ secrets.KEY }}
      script: |
        whoami
        ls -al
Synchronous execution on multiple hosts
  - name: multiple host
    uses: appleboy/ssh-action@v1.2.0
    with:
      host: "foo.com,bar.com"
+     sync: true
      username: ${{ secrets.USERNAME }}
      key: ${{ secrets.KEY }}
      port: ${{ secrets.PORT }}
      script: |
        whoami
        ls -al
Pass environment variable to shell script
  - name: pass environment
    uses: appleboy/ssh-action@v1.2.0
+   env:
+     FOO: "BAR"
+     BAR: "FOO"
+     SHA: ${{ github.sha }}
    with:
      host: ${{ secrets.HOST }}
      username: ${{ secrets.USERNAME }}
      key: ${{ secrets.KEY }}
      port: ${{ secrets.PORT }}
+     envs: FOO,BAR,SHA
      script: |
        echo "I am $FOO"
        echo "I am $BAR"
        echo "sha: $SHA"
Inside env object, you need to pass every environment variable as a string, passing Integer data type or any other may output unexpected results.
How to connect remote server using ProxyCommand?
+--------+       +----------+      +-----------+
| Laptop | <-->  | Jumphost | <--> | FooServer |
+--------+       +----------+      +-----------+
in your ~/.ssh/config, you will see the following.
Host Jumphost
  HostName Jumphost
  User ubuntu
  Port 22
  IdentityFile ~/.ssh/keys/jump_host.pem

Host FooServer
  HostName FooServer
  User ubuntu
  Port 22
  ProxyCommand ssh -q -W %h:%p Jumphost
How to convert to YAML format of GitHubActions
  - name: ssh proxy command
    uses: appleboy/ssh-action@v1.2.0
    with:
      host: ${{ secrets.HOST }}
      username: ${{ secrets.USERNAME }}
      key: ${{ secrets.KEY }}
      port: ${{ secrets.PORT }}
+     proxy_host: ${{ secrets.PROXY_HOST }}
+     proxy_username: ${{ secrets.PROXY_USERNAME }}
+     proxy_key: ${{ secrets.PROXY_KEY }}
+     proxy_port: ${{ secrets.PROXY_PORT }}
      script: |
        mkdir abc/def
        ls -al
Protecting a Private Key
The purpose of the passphrase is usually to encrypt the private key. This makes the key file by itself useless to an attacker. It is not uncommon for files to leak from backups or decommissioned hardware, and hackers commonly exfiltrate files from compromised systems.
  - name: ssh key passphrase
    uses: appleboy/ssh-action@v1.2.0
    with:
      host: ${{ secrets.HOST }}
      username: ${{ secrets.USERNAME }}
      key: ${{ secrets.KEY }}
      port: ${{ secrets.PORT }}
+     passphrase: ${{ secrets.PASSPHRASE }}
      script: |
        whoami
        ls -al
Using host fingerprint verification
Setting up SSH host fingerprint verification can help to prevent Person-in-the-Middle attacks. Before setting this up, run the command below to get your SSH host fingerprint. Remember to replace ed25519 with your appropriate key type (rsa, dsa, etc.) that your server is using and example.com with your host.
In modern OpenSSH releases, the default key types to be fetched are rsa (since version 5.1), ecdsa (since version 6.0), and ed25519 (since version 6.7).
ssh example.com ssh-keygen -l -f /etc/ssh/ssh_host_ed25519_key.pub | cut -d ' ' -f2
Now you can adjust you config:
  - name: ssh key passphrase
    uses: appleboy/ssh-action@v1.2.0
    with:
      host: ${{ secrets.HOST }}
      username: ${{ secrets.USERNAME }}
      key: ${{ secrets.KEY }}
      port: ${{ secrets.PORT }}
+     fingerprint: ${{ secrets.FINGERPRINT }}
      script: |
        whoami
        ls -al
Q&A
Command not found (npm or other command)
See the issue comment about interactive vs non interactive shell. Thanks @kocyigityunus for the solution.
Basically, if you are running a command in a non interactive shell, like ssh-action, on many linux distros,
/etc/bash.bashrc file has a specific command that returns only, so some of the files didn't run and some specific commands doesn't add to path,
# /etc/bash.bashrc
# System-wide .bashrc file for interactive bash(1) shells.

# To enable the settings / commands in this file for login shells as well,
# this file has to be sourced in /etc/profile.

# If not running interactively, don't do anything
[ -z "$PS1" ] && return`
just comment out the line that returns early and everything should work fine, or you can use the real paths of the commands that you would like to use.
Contributing
We would love for you to contribute to appleboy/ssh-action, pull requests are welcome!
License
The scripts and documentation in this project are released under the MIT License

